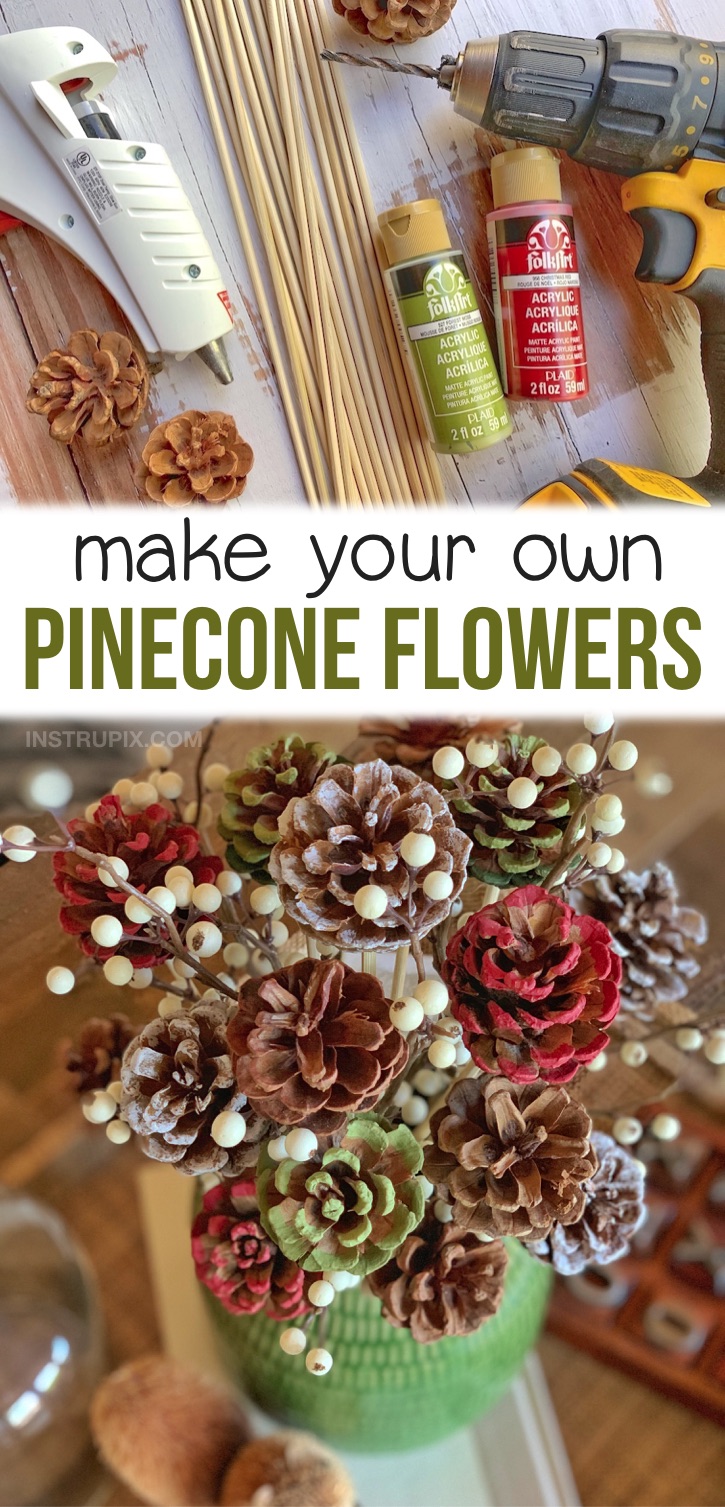
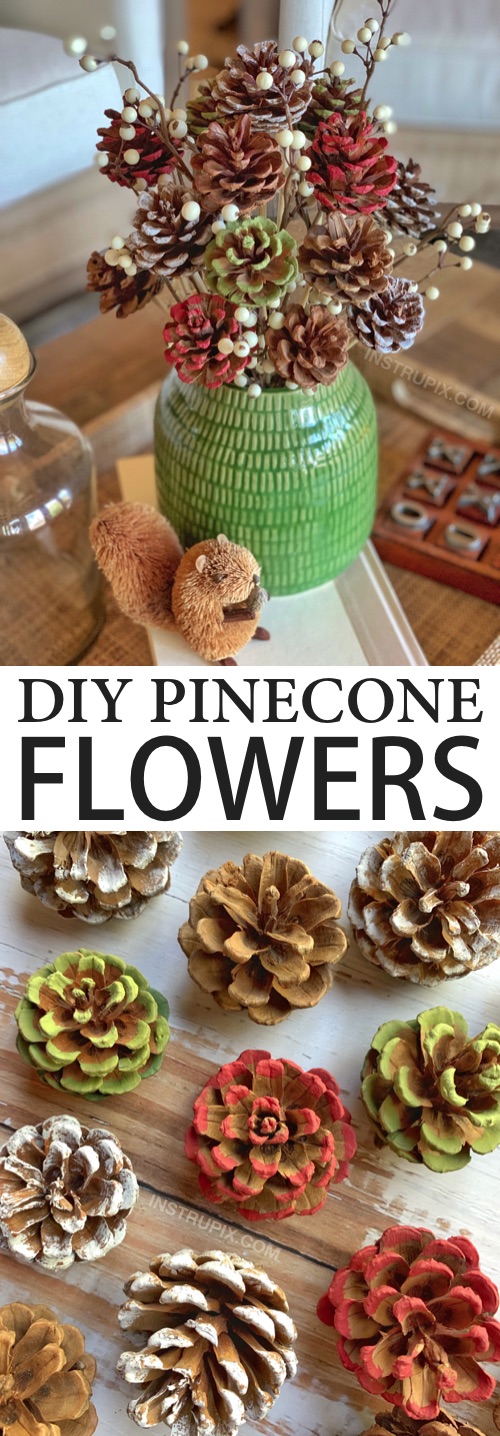
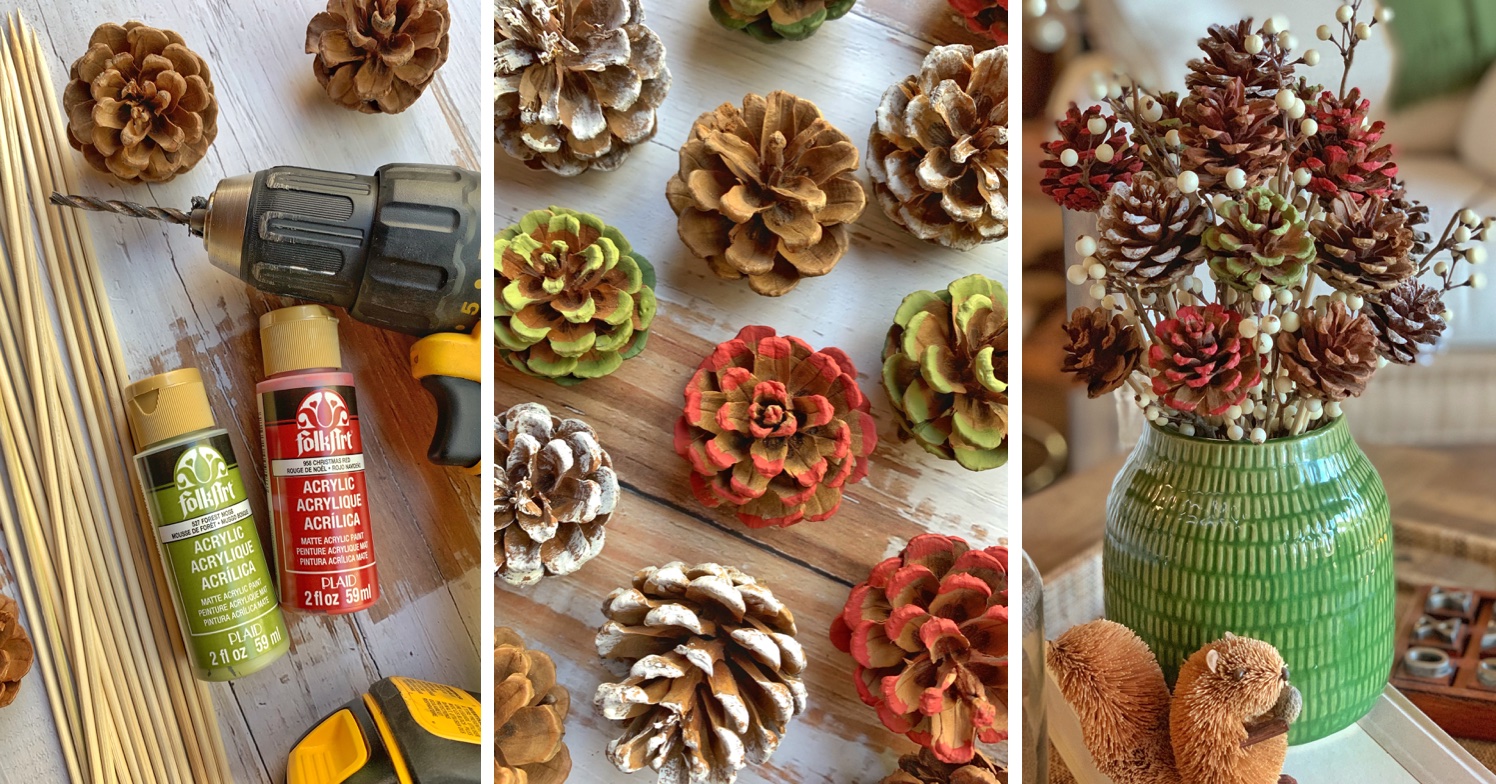
Painted Pinecone Flower Arrangement Tutorial
I have a thing for pinecones. I don’t know what it is, I just find them to be incredibly charming. I’m also not a very colorful person, and prefer neutral, boring colors. If you saw my home you’d know what I mean– lots of beige, and then you walk in the next room to find even more beige. Sometimes I might surprise you with a bit of grey.
I’ve been wanting to make these pinecone flowers for a while now, but couldn’t figure out how I was going to successfully attach the wood skewers for the stems. Then it hit me. A drill! Duh. If I could make a shallow hole in the bottom of each pine cone, then I’m certain that a little hot glue would hold the skewers in place. I’m happy to say, it worked like a charm, and I’m going to show you how to do it!
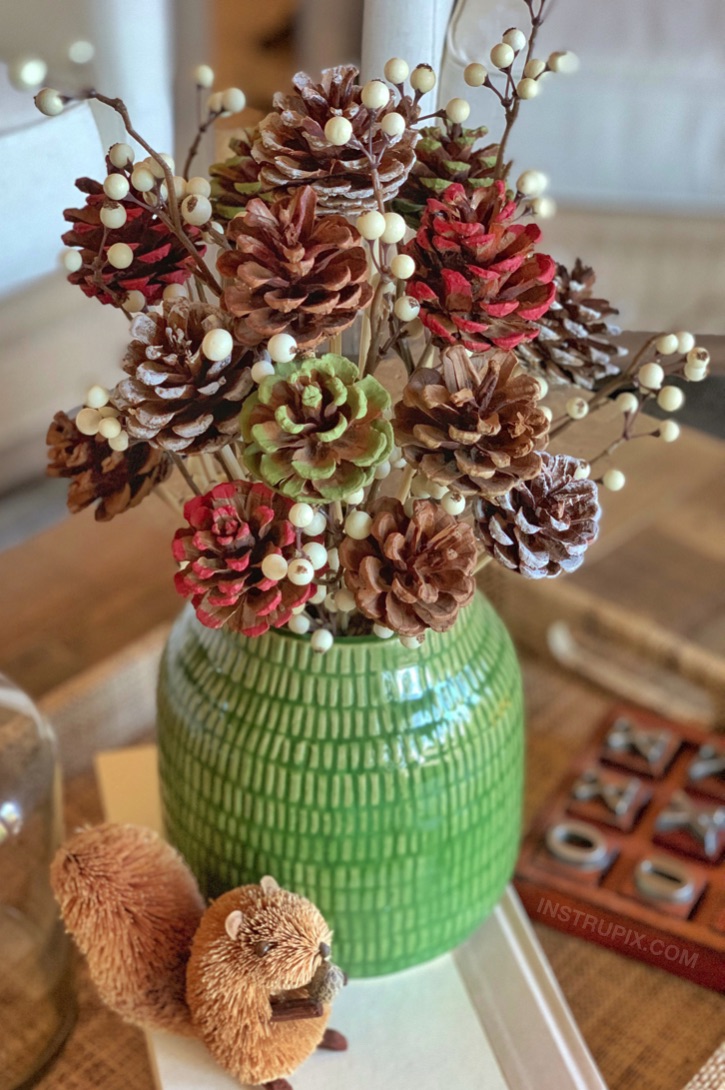
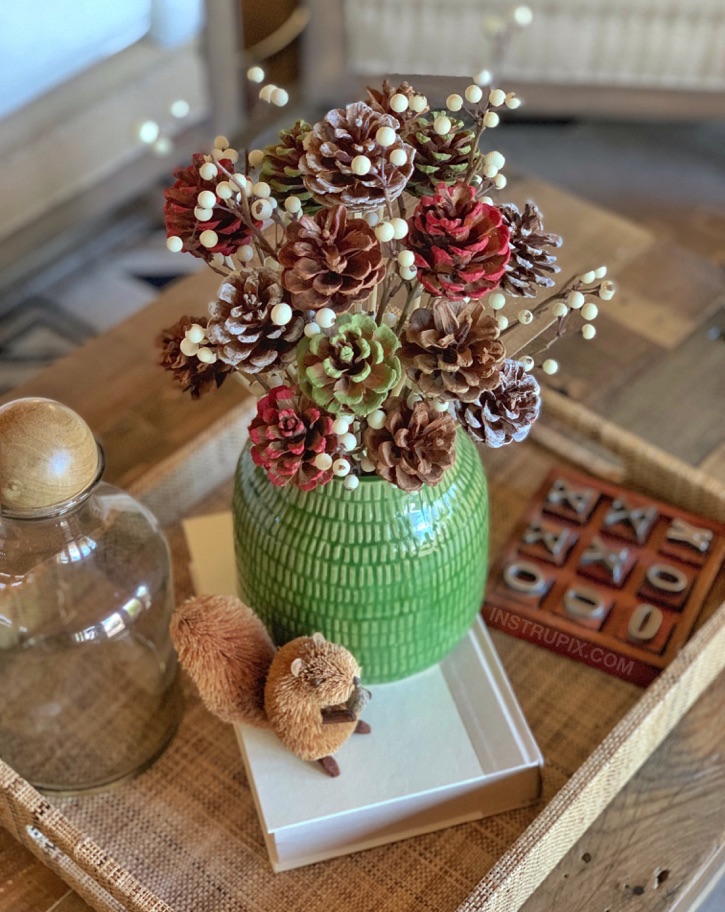
I made these pinecone flowers for Christmas, but you could decorate them for just about any occasion.
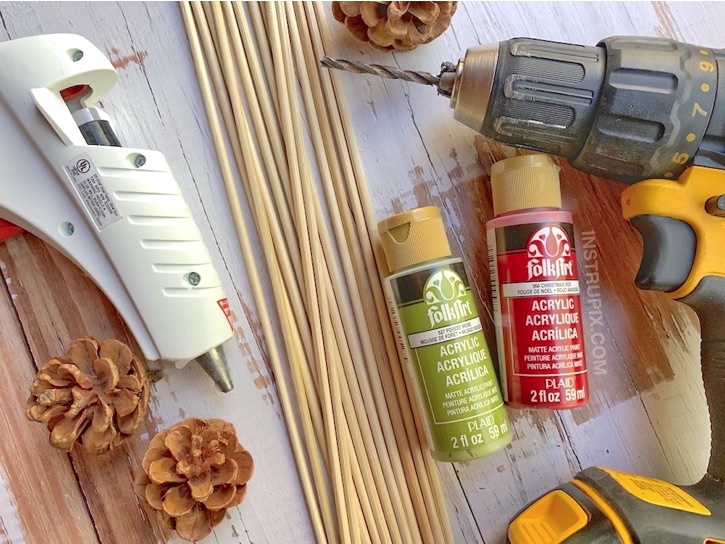
SUPPLIES NEEDED
- pinecones
- long wooden skewers (mine were 12 inches)
- hot glue
- a 3/16 inch drill bit
- paint supplies (optional)
- a vase (about 6 inches tall)
- floral foam
Before Getting Started
I’ve received several questions and comments about how to get rid of potential bugs and bacteria from the pinecones. I live in Arizona and have always had to buy my pinecones, but if you are collecting them from your yard, you can bake them on a sheet pan at 250°F for 30-60 minutes, just depending on their size and moisture content. Check on them every 10 minutes to make sure they’re not burning, and be sure to give them several hours to cool off once you pull them out of the oven.
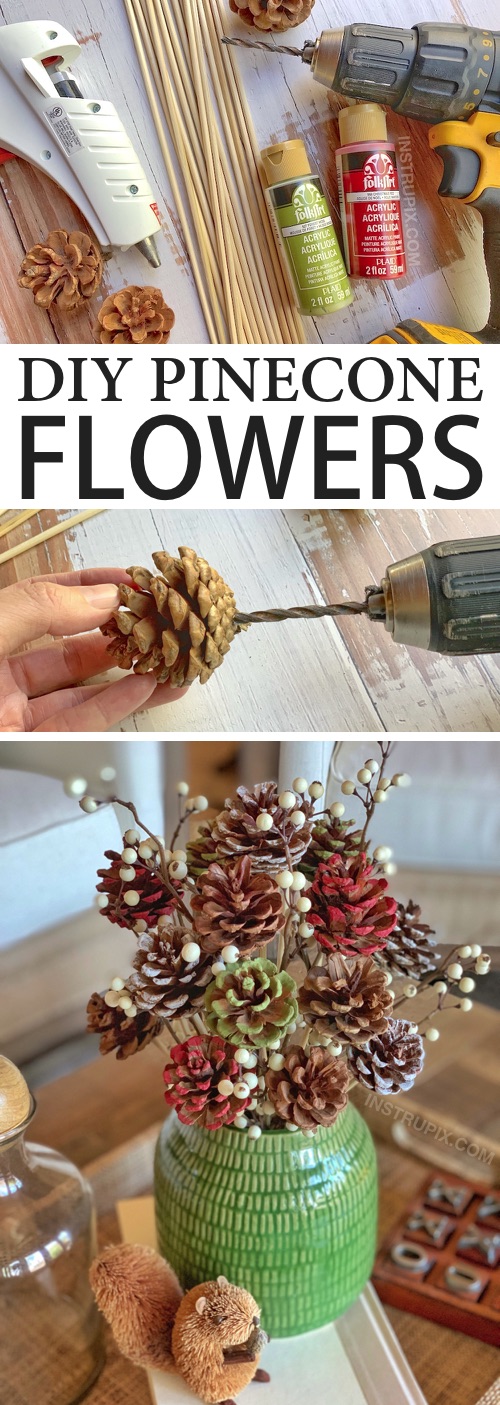
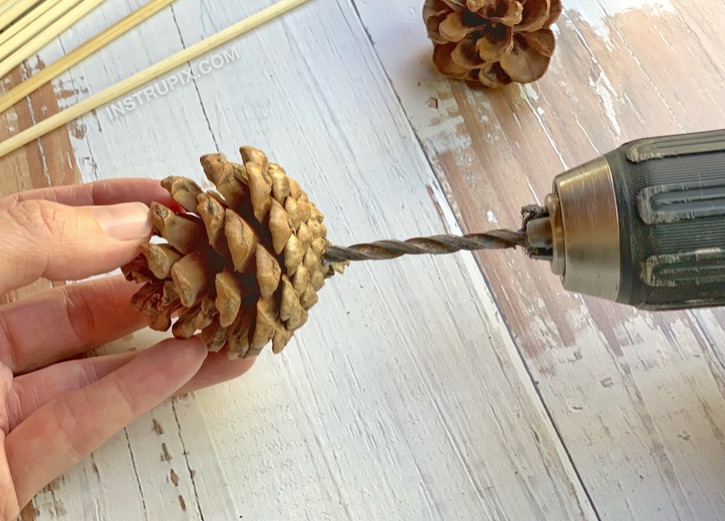
Step 1Start off by drilling a shallow hole into the bottom of each pinecone. You just need it deep enough to secure the wooden skewers with hot glue, so there’s no need to go in more than about 1/8 inch.
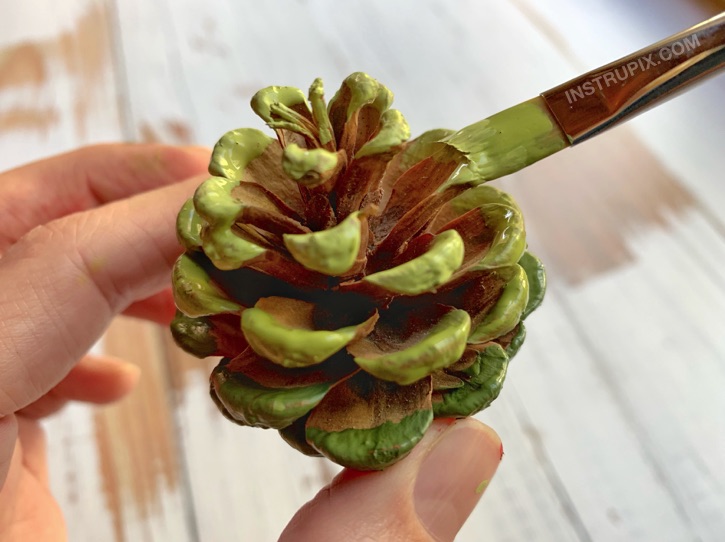
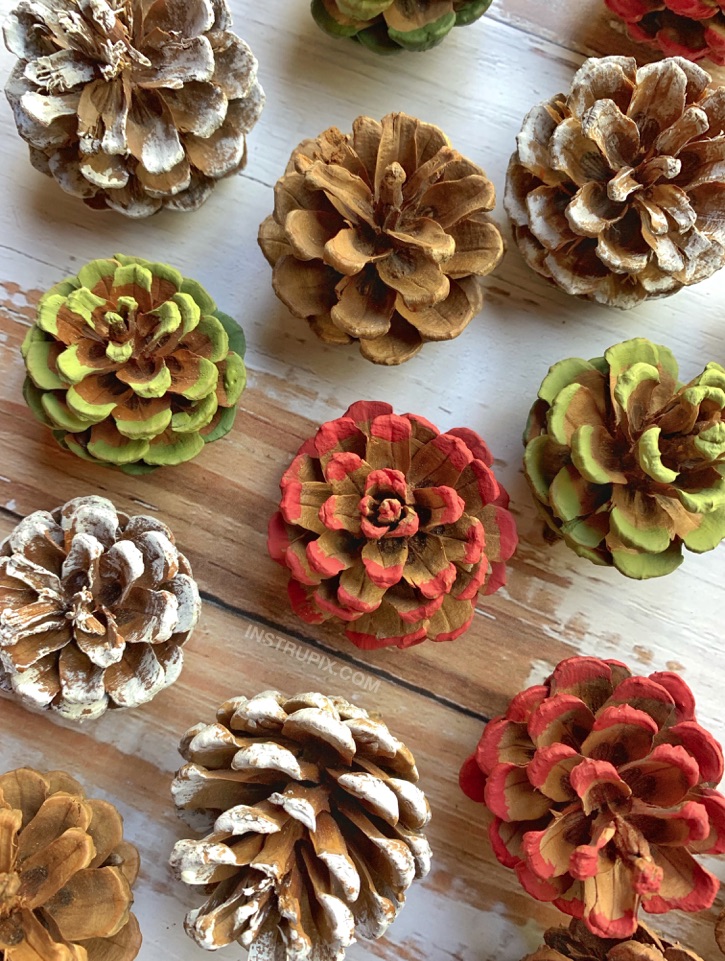
Step 2Decorate the pinecones in the colors of your choice. I chose to only paint the tips with a bit of acrylic paint to allow the natural colors of the pinecones to peak through. You could also go crazy with spray paint, glitter, or even a little fake snow. Time to break out that inner artist!
I left a few of them unpainted as well. 🙂
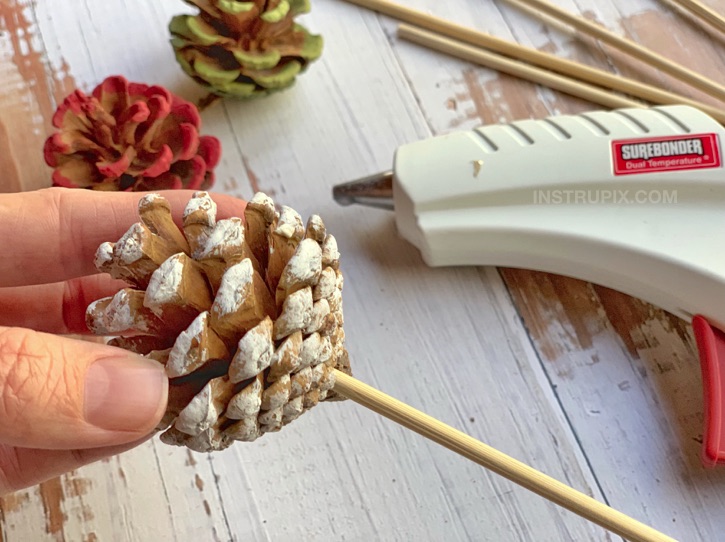
Step 3Once the paint has dried, working with one pinecone at a time, place a generous amount of hot glue into each pre-drilled hole and then immediately place the flat side of a skewer inside. I held each skewer in place for about 20 seconds before moving on to the next to ensure that it dried in place.
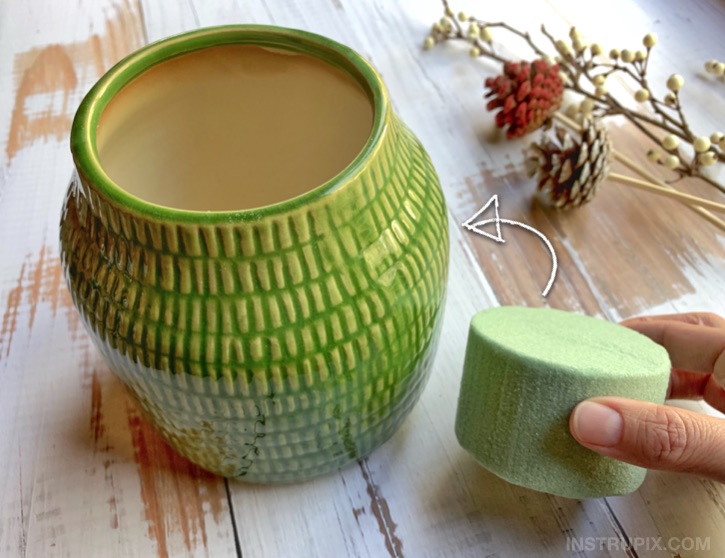
Step 4If you plan on arranging these in a vase, I recommend placing a piece of floral foam onto the bottom of your vase to keep your pinecone flowers obedient. They are heavier than actual flowers and tend to want to flop over, especially if your container has a wide mouth.
Step 5To arrange the flowers, start by placing a full length pinecone stem directly into the middle of the foam, and then trim the rest of the skewers as needed to create a natural looking arrangement. I also added in some faux white berry filler once I was finished, and I think it makes a big difference. Including some sort of foliage is like the icing on the cake! Try using leafy branches or small pieces of pine garland.
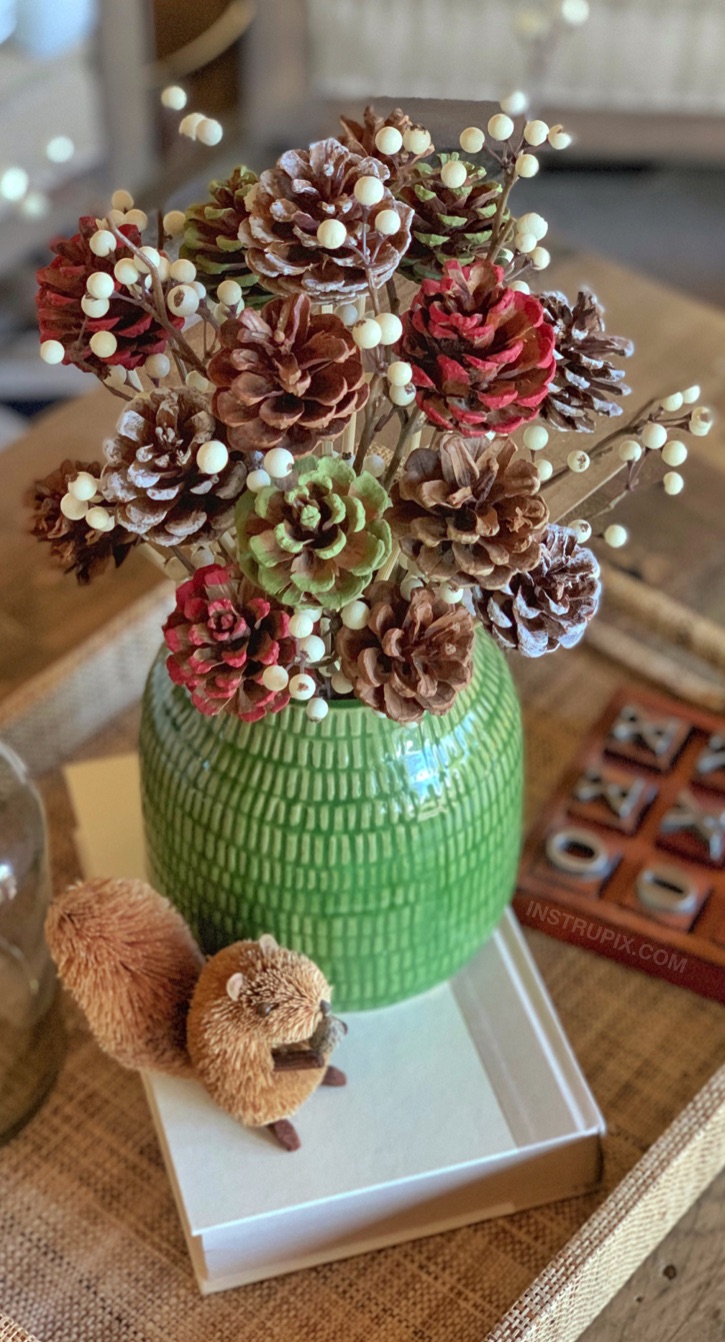
I made these as part of my Christmas decor, but you could easily assemble something stunning for the fall season by using orange and yellow inspired paint colors and throwing in some faux autumn leaves. How pretty would that be as a centerpiece on your Thanksgiving table!
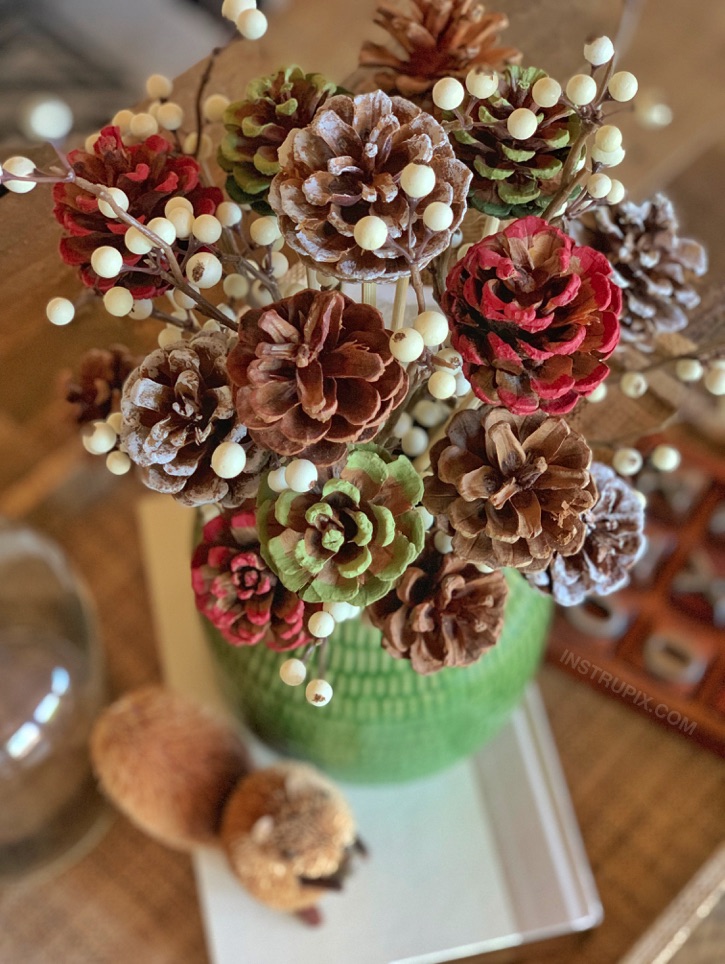
This project turned out much better than I had anticipated! It was cheap, easy and fun to make, plus I love the way it looks on the coffee table in my living room during Christmas. I may have to make a non-holiday themed pinecone arrangement so that I can enjoy them the rest of the year.
You could also use a few of these stemmed pinecone flowers to add to a vase of fresh flowers.
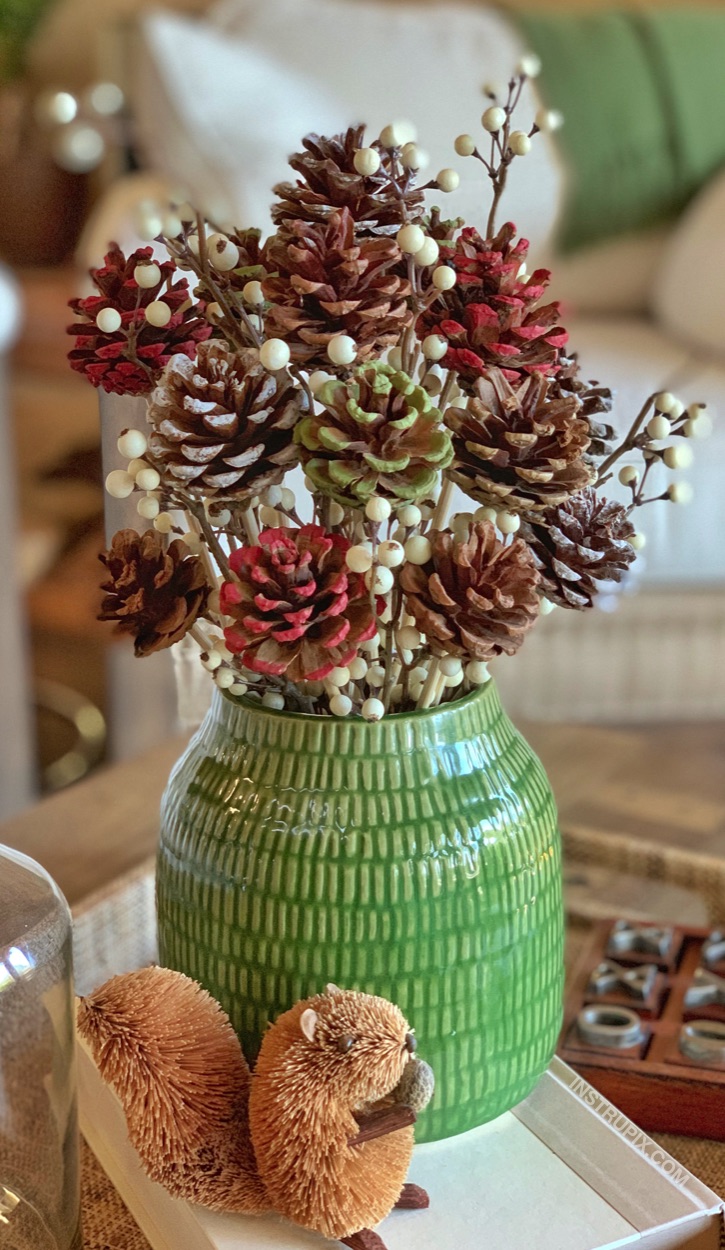
Don’t forget to pin and save for later! 🙂
